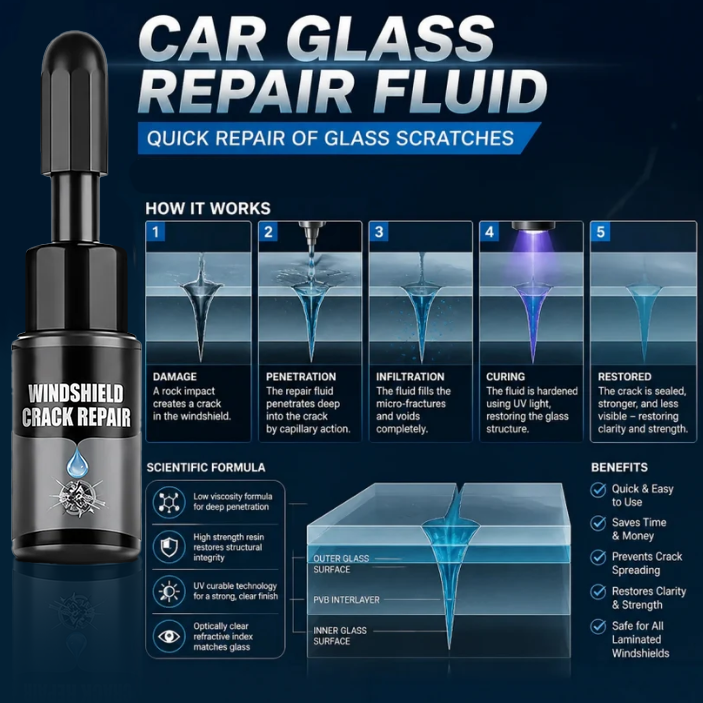
🔥Glass Repair Kit - That Little Chip Doesn’t Have to Be a Daily Distraction
🔥Glass Repair Kit - That Little Chip Doesn’t Have to Be a Daily Distraction

BUNDLE & SAVE
Couldn't load pickup availability
Small windshield damage? Take a closer look.
That little chip catches your eye every time you get in the car. For compatible minor glass damage, this compact resin kit offers a practical DIY option to help repair the affected area.
Help repair suitable damage.
The resin is designed to enter accessible gaps in compatible damaged glass. Once cured, it can rapair the affected area.
A focused repair
For treating a suitable damaged spot, rather than coating an entire windshield.
A compact kit
Resin, curing strips and a scraper are supplied together for the application and finishing steps.
Results vary with the type, depth and condition of the damage, as well as preparation and curing.
A small kit for a focused repair.
Keep the repair process manageable: prepare the suitable damaged area, apply the resin, allow it to cure and finish the surface. Review the contents below to choose the right quantity.

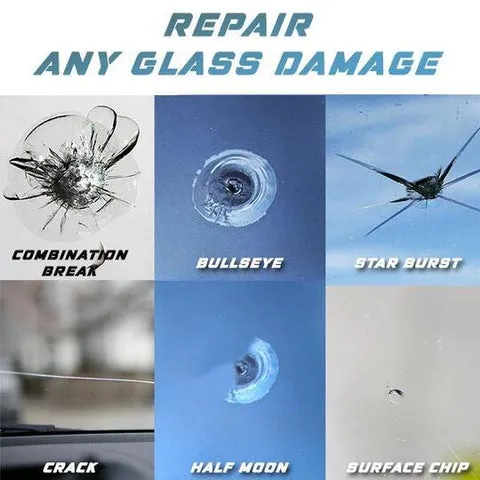
Similar-looking chips can need different repairs.
Use the illustration to recognize common damage patterns. The shape alone does not determine whether a repair is suitable: size, depth, location and glass type also matter.
Designed to reach accessible gaps.
Repair resin is intended to enter accessible spaces in compatible damaged glass. A clean, dry surface and the correct application method help prepare the area for treatment.

Prepare. Apply. Cure. Finish.
Read the product directions before starting. Proper preparation and complete curing matter more than rushing the repair.
- Prepare the area. Clean and dry the surface as directed. Follow the product's handling and protective-equipment instructions.
- Apply the resin. Apply to the suitable damaged area using the method and quantity specified in the directions.
- Cover and cure. Position the curing strip as directed. Allow the resin to cure under the specified light and temperature conditions.
- Finish after curing. Once fully cured, remove the strip and carefully remove excess resin with the scraper as directed.

Application time and curing time are different. Do not remove the strip or scrape the resin before it has fully cured.
Inside each kit

Choose the quantity that fits your needs. Resin use depends on the damage.
A few helpful answers
How long does the repair take?
Allow time for both application and full curing. Follow the product directions for the required light, temperature and curing duration; do not assume every repair is complete in a few minutes.
Where can I check delivery and returns?
Review the store's shipping and return policies before ordering. Check the shipping charge for your destination at checkout, and review return eligibility before opening or using the kit.
A practical next step for suitable small damage.
Check compatibility, review what's included and choose the kit quantity that fits your needs.